











How to Choose the Right Handicap Vans for Your Needs?
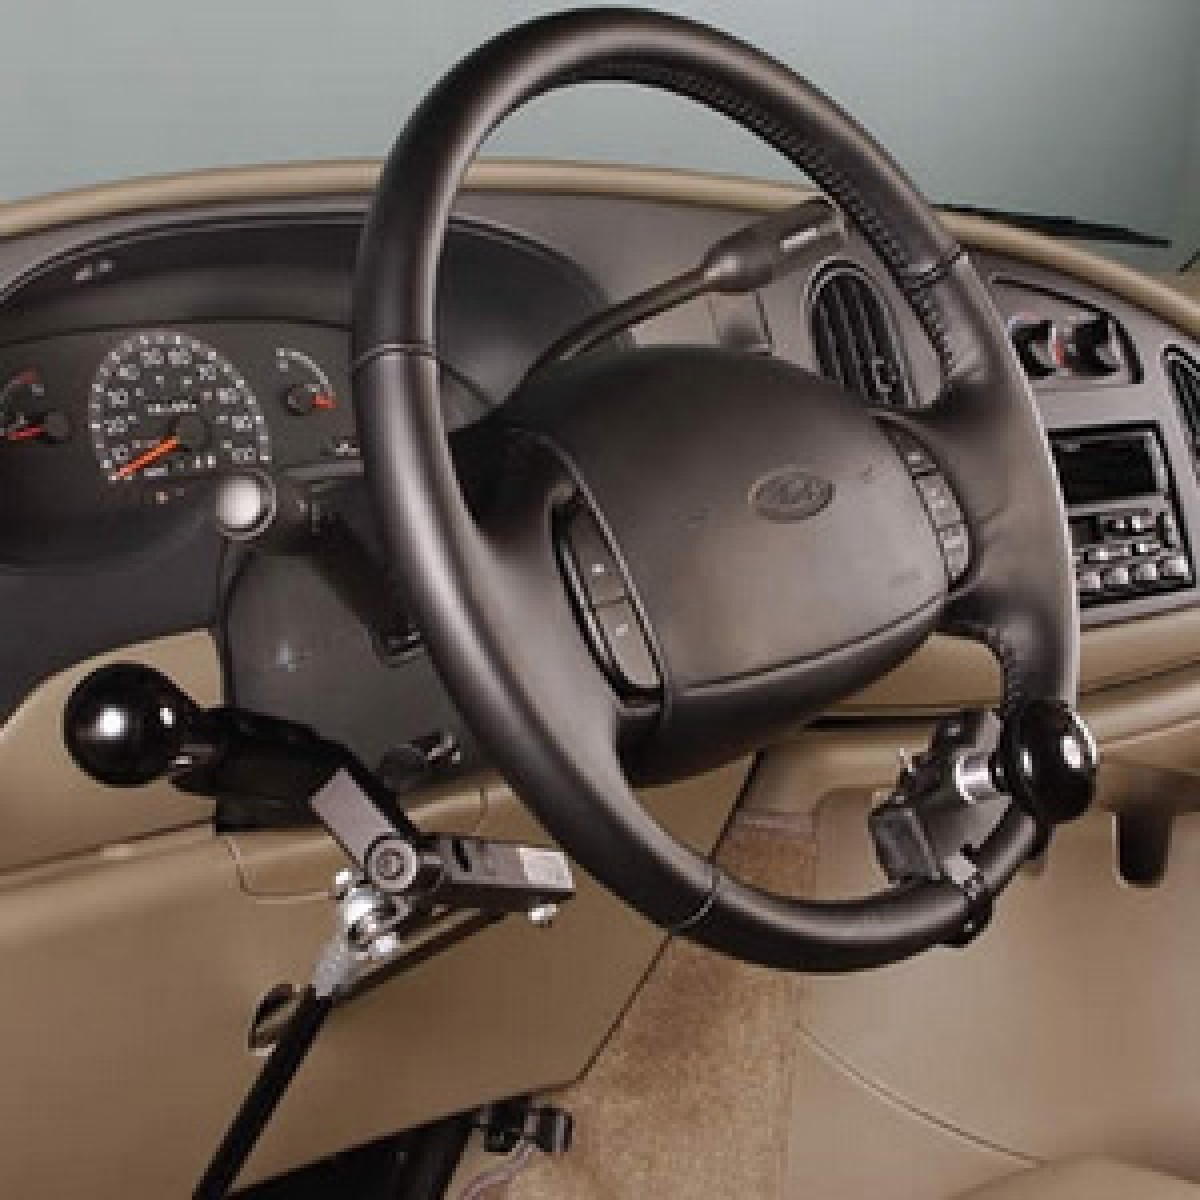
Choosing the right Handicap Vans begins with understanding the passenger, not admiring the vehicle’s exterior. A wheelchair user may need a lowered floor, while another passenger may require a transfer seat, hand controls, or additional headroom. These differences affect safety, comfort, and daily independence.
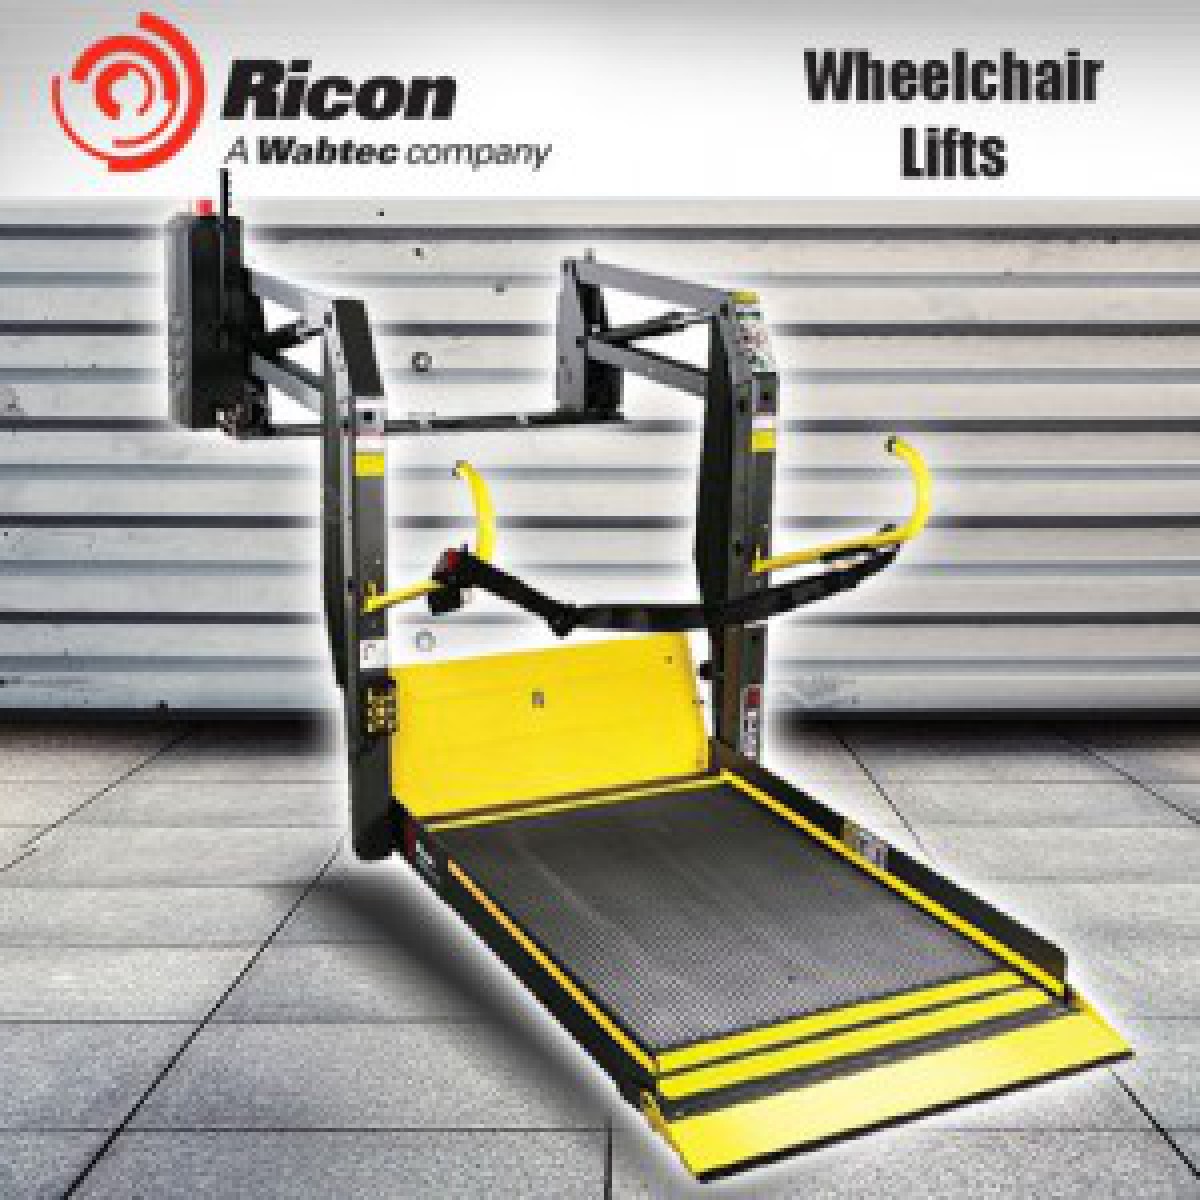
Staci Kroon, former CEO of BraunAbility, has emphasized a practical principle: “The right vehicle should fit the person’s mobility needs, not force the person to adapt.” That idea deserves careful attention. A van with a powerful lift may still feel unsuitable if its doorway is narrow or its ramp angle is uncomfortable. Small details matter, such as where the wheelchair locks, how far the driver can see, and whether groceries fit beside the chair.
Real-world experience also exposes weaknesses that brochures often hide. A van can look spacious in photographs but feel cramped beside a supermarket entrance. Weather, parking slopes, repair access, and battery performance deserve honest consideration. I once underestimated how tiring a slow ramp could become during a busy morning. That mistake changed how I evaluate accessibility.
This guide examines essential features, conversion types, seating arrangements, maintenance needs, and long-term costs. It also considers new and used Handicap Vans, because the cheaper option is not always the more reliable one. A careful test drive, professional assessment, and inspection by a qualified mobility dealer can prevent expensive regret. Perfect choices are rare. The goal is a safer, more practical match for everyday life.
Identify Passenger and Chair Needs Using CDC’s 1-in-4 Disability Statistic
How to Choose the Right Handicap Vans for Your Needs?
The CDC reports that about one in four U.S. adults has a disability. That statistic changes how families should evaluate accessible transportation. Passenger count is only the beginning. A van may carry four people, yet feel cramped with one wheelchair, a caregiver, and medical equipment. Measure the chair’s total width, height, length, and turning radius. Record the user’s seated height, too. Small errors matter.
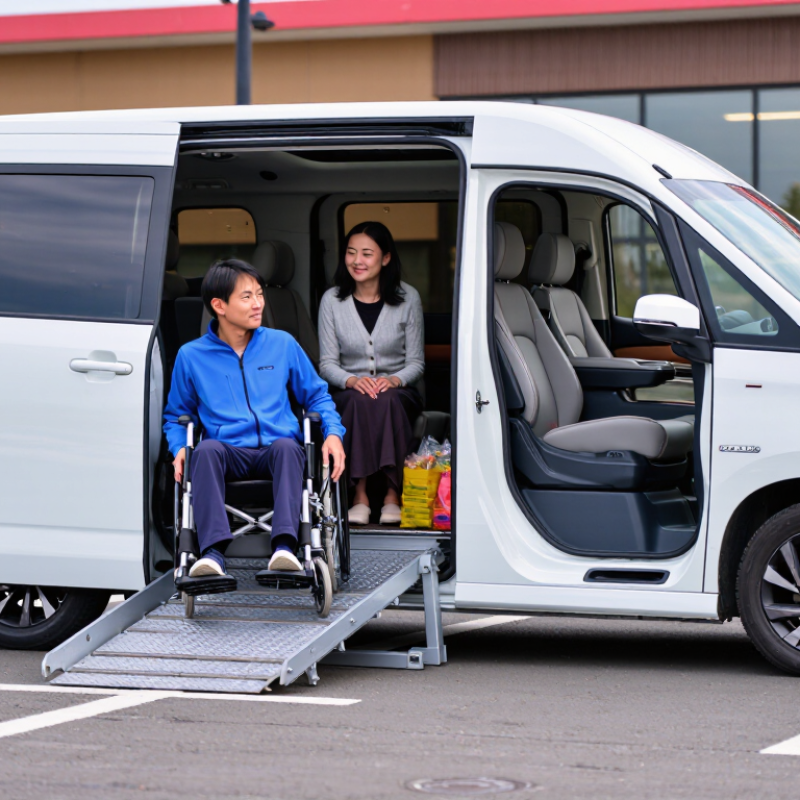
The 2022 American Community Survey estimated that roughly 44 million Americans lived with a disability. Mobility needs differ widely across this population. Some passengers transfer into a seat, while others remain in their chairs. Check whether the vehicle supports a rear-entry or side-entry layout. Confirm ramp slope, doorway clearance, interior headroom, and securement positions. NHTSA guidance emphasizes proper wheelchair tiedown and occupant restraint use during travel. Ask a qualified mobility technician to demonstrate the system with the actual chair.
Try the van before deciding. Bring the passenger, wheelchair, cushion, and usual equipment. Watch the loading process closely. It may take longer than expected. I have seen families focus on ramp length and overlook parking space requirements. That is an easy mistake. Recheck measurements, seating preferences, and future care needs before purchase.
How to Choose the Right Handicap Vans for Your Needs? — Identify Passenger and Chair Needs Using CDC’s 1-in-4 Disability Statistic
Use this planning table to match passenger needs, mobility equipment, interior space, and accessibility features before comparing available handicap van configurations.
| Planning Dimension | Relevant Data | What to Measure or Confirm | Recommended Van Consideration | Priority |
|---|---|---|---|---|
| Disability prevalence | Approximately 1 in 4 U.S. adults reports a disability, according to the CDC’s Disability and Health Data System. | Consider whether one or more regular passengers have mobility, sensory, cognitive, or self-care limitations. | Plan for the actual passenger’s daily assistance needs rather than selecting a vehicle based only on the number of seats. | Essential |
| Passenger count | Common planning groups include 1 wheelchair passenger, 2 wheelchair passengers, or 1 wheelchair passenger plus 3–5 seated passengers. | Count every regular passenger, including the driver and caregivers. Allow space for service animals or essential equipment when applicable. | Choose a layout that preserves safe seating positions and does not block the wheelchair access path. | Essential |
| Wheelchair user position | Some users remain seated in the wheelchair during travel; others transfer to a vehicle seat. | Confirm transfer ability, trunk control, caregiver assistance, and whether the wheelchair must remain occupied during transit. | For travel in the wheelchair, select a configuration with an approved wheelchair passenger position, securement system, and occupant restraint. | Essential |
| Wheelchair width | Measure the widest point, including hand rims, wheels, side guards, and armrests. Add clearance for straight, low-effort entry. | Measure the chair in its normal travel condition; do not rely only on the manufacturer’s seat width. | Compare the measured chair width with the clear door opening, ramp or lift platform, and interior aisle width. | Essential |
| Wheelchair length | Measure from the front footrests to the rearmost point of the chair. Power chairs may require additional turning and maneuvering room. | Include leg rests, batteries, joystick controls, rear anti-tip wheels, and any attached medical equipment. | Verify that the chair can reach its securement position without forcing the user to reverse or make tight turns. | Essential |
| Wheelchair height | Measure from the floor to the highest point of the seated user and chair, including headrests or ventilator equipment. | Measure the total travel height at the tallest point, not just the chair frame height. | Confirm interior headroom along the entire access route and at the final wheelchair position. | Essential |
| Wheelchair and occupant weight | Total load equals the wheelchair weight plus the passenger, removable equipment, and accessories. | Use actual scale weights whenever possible. Include batteries, oxygen equipment, and caregiver-loaded items. | Check the vehicle floor, ramp or lift, tie-downs, and restraint ratings against the complete measured load. | Essential |
| Door and access opening | The ADA accessible-route benchmark for clear width is 32 inches minimum for a limited-length opening and 36 inches for a typical route. | Measure the unobstructed opening at the narrowest point, including trim, hinges, handles, and deployed equipment. | Use the measured mobility device width plus practical maneuvering clearance when comparing side-entry and rear-entry layouts. | Essential |
| Turning and maneuvering space | The ADA commonly uses a 60-inch diameter turning space or a compliant T-shaped turning space as an accessibility benchmark. | Check the space needed to approach the ramp or lift, turn into the securement position, and exit without contacting seats or trim. | Choose a larger interior layout when the user has limited steering control or requires caregiver assistance. | High |
| Ramp slope and deployment | A 1:12 maximum slope is an ADA ramp benchmark, meaning 1 inch of rise for every 12 inches of ramp run. | Evaluate the actual deployed ramp angle, available curb clearance, surface texture, and caregiver pushing force. | Consider a powered ramp or lift when the combined passenger and chair weight makes manual loading difficult or unsafe. | High |
| Securement and restraint | A wheelchair passenger position should include a compatible four-point wheelchair tie-down system and a separate occupant restraint system. | Confirm attachment points, belt routing, shoulder-belt position, and compatibility with the specific wheelchair. | Never rely on the wheelchair brakes alone; use the vehicle’s approved securement and restraint equipment as instructed. | Essential |
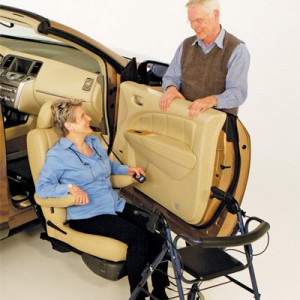
| Transfer-seat requirements | Passengers who transfer to a vehicle seat may need a swivel, lowered, or removable seat arrangement. | Assess transfer height, reach, balance, caregiver access, and the ability to store the wheelchair securely. | Select a layout that provides a stable transfer path and does not require lifting the passenger unnecessarily. | High |
| Medical and personal equipment | Common items include oxygen cylinders, walkers, scooters, ventilators, bags, and portable ramps. | Measure each item and identify whether it must remain accessible during travel. | Reserve secured storage that does not obstruct emergency exits, the ramp, the lift, or passenger restraints. | High |
| Daily-use environment | Loading conditions may include flat driveways, steep curbs, narrow parking spaces, snow, rain, or uneven surfaces. | Observe where loading normally occurs and whether the user enters from the curb side or traffic side. | Compare side-entry and rear-entry designs according to parking space, curb access, and caregiver safety. | High |
| Safety and maintenance | Accessible equipment contains moving parts that require inspection, cleaning, and periodic service. | Ask about ramp or lift operation, tie-down inspection, restraint condition, battery or power requirements, and emergency release procedures. | Choose equipment that the primary caregiver can operate confidently and maintain according to the manufacturer’s instructions. | High |
Planning note: The measurements above are screening benchmarks, not a substitute for a professional vehicle assessment. Always test the actual wheelchair, mobility device, passenger, and caregiver combination before purchase or conversion.
- Centers for Disease Control and Prevention, Disability and Health Data System: approximately 1 in 4 U.S. adults reports a disability.
- U.S. Department of Justice, 2010 ADA Standards for Accessible Design: accessible-route width, turning-space, and ramp-slope benchmarks.
Related Posts
-
Ultimate Guide to Choosing the Perfect Van With Wheelchair Lift for Your Needs
-
Best Vans with Wheelchair Lift Options for Easy Access?
-

2026 Top Handicap Conversion Vans Buying Guide for Everyone?
-

China Made Accessible Vehicles for Everyone Trustworthy Quality for Global Sharing
-

Addressing Challenges in Sourcing Best Handicap Accessible Vehicles for Global Markets
-

The Ultimate Guide to Sourcing High Quality Suppliers for Best Vans With Wheelchair Lifts
