

How to Buy a Van With Wheelchair Lift in 2026?

Buying a Van With Wheelchair Lift in 2026 involves more than comparing prices and passenger capacity. The right vehicle must support safe transfers, comfortable travel, and dependable daily access. A polished advertisement may hide worn lift motors, narrow entry doors, or expensive battery problems. Look beyond photographs.

This guide explains how to evaluate new and used accessible vans with practical, evidence-based steps. Measure the wheelchair, user, and intended parking space before visiting a dealer. Record the chair’s width, height, weight, and turning clearance. Then compare those figures with the lift platform, doorway opening, interior floor, and restraint positions. A certified mobility-vehicle dealer can explain conversion standards, installation records, and available warranty coverage. An independent inspection remains valuable, even when the seller appears trustworthy.

Ask for the vehicle identification number, service history, recall information, and lift maintenance records. Operate the lift several times, including its backup controls. Listen for grinding, uneven movement, or delayed lowering. Check floor anchoring, seat belts, handrails, lighting, and emergency release instructions. A test drive should include turns, braking, highway speeds, and loading on a realistic slope.

Budget for tires, batteries, lift servicing, insurance, and future repairs. Financing can also change the real cost. Some details are easy to overlook. I might still miss a hidden electrical fault without specialist testing. That is why a second opinion is sensible. Reliable documentation, careful measurements, and professional inspection can turn a stressful purchase into a safer long-term decision.
How to Buy a Van With Wheelchair Lift in 2026?

Define Your Wheelchair Access and Van Requirements

How to Buy a Van With Wheelchair Lift in 2026?

Define Your Wheelchair Access and Van Requirements

Start with the wheelchair, not the vehicle. Measure its total width, length, height, and turning space. Record the user’s seated height, including head support and cushions. A narrow doorway may look acceptable but fail during daily use.

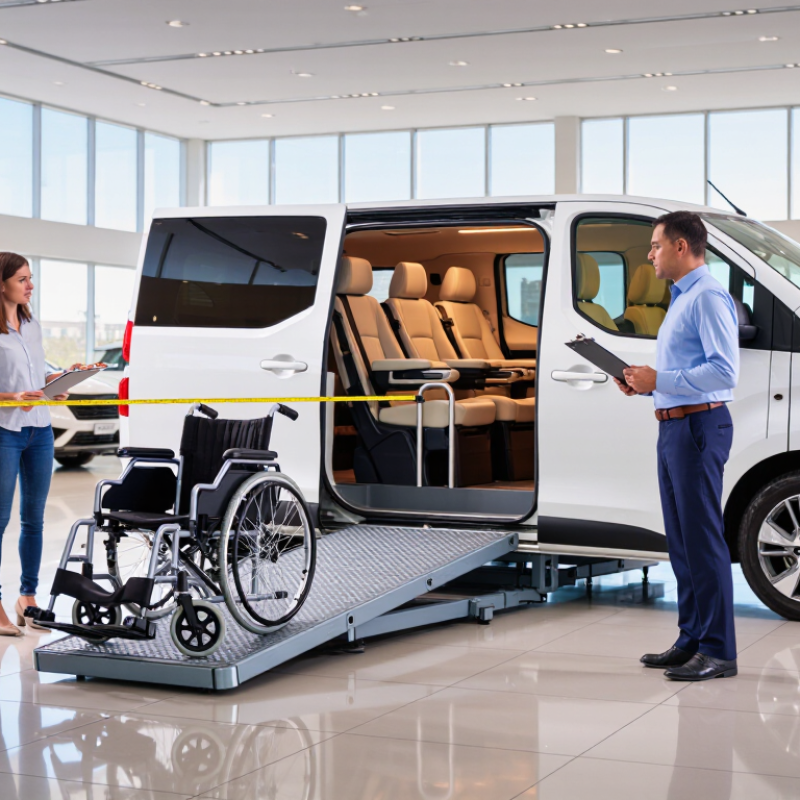
Decide how the person will enter the van. Will they remain seated during loading, transfer to a vehicle seat, or use a powered chair? A lift may suit one routine, while a ramp may suit another. Check the lift platform size, handrails, controls, and backup operation. Ask a qualified mobility specialist to review safe loading and securement needs. Then compare the van’s interior height, door clearance, floor strength, seating layout, and payload capacity. Use current specifications, not sales descriptions alone.

Tips: Bring the actual wheelchair to every inspection. Test the lift with the user, caregiver, and usual bags inside. Measure twice. It sounds excessive, but small errors become daily frustrations.

Think about real locations. Will the van fit in a garage with the lift deployed? Is there enough side space for a ramp? Can the caregiver reach belts, switches, and emergency equipment without stretching? A common mistake is planning for today’s chair only. Future repairs, batteries, or a larger cushion may require extra room. Even a careful checklist can miss awkward weather conditions, uneven pavement, or poor lighting. Test those details before making a purchase.

Choose Between New, Used, and Converted Accessible Vans

How to Buy a Van With Wheelchair Lift in 2026?

Choosing between a new, used, or converted accessible van depends on budget, mobility needs, and future repairs. A new van usually offers predictable maintenance, current safety equipment, and a lift installed by qualified technicians. However, its higher price can strain a household budget. Ask for the lift’s weight rating, platform dimensions, warranty terms, and emergency manual operation.

A used accessible van may cost less, but its history matters more than its appearance. Inspect the lift while carrying a realistic wheelchair and passenger load. Listen for grinding, uneven movement, or unusual hydraulic noise. Check service records, floor anchoring, ramp seals, seat-belt points, and corrosion underneath. An independent mobility specialist should inspect it before purchase. I would not rely on a clean interior alone. Hidden wear can be expensive.

A converted van can provide a practical layout, especially when completed by an experienced conversion company. Yet conversions vary widely in workmanship. Confirm who installed the lift and whether replacement parts remain available. Measure your garage, parking space, and turning area before choosing a model.

Tips: Write down daily measurements first. Include wheelchair width, occupant height, transfer space, and preferred entry direction. Test the vehicle on slopes and narrow parking spaces. Compare insurance, maintenance, and battery costs, not only the purchase price. If a salesperson discourages an independent inspection, pause. That small delay may reveal a major problem.

Compare Wheelchair Lift Types, Vehicle Sizes, and Safety Features

How to Buy a Van With Wheelchair Lift in 2026?

The 2022 WHO Global Report on Health Equity for Persons with Disabilities estimates that 1.3 billion people experience significant disability worldwide. In the United States, CDC data shows that about one in four adults has a disability. That makes practical access more important than stylish equipment. A rear-entry platform lift usually needs less side clearance and works well in narrow parking spaces. A side-entry lift can offer easier curbside boarding and more flexible seating, but it requires a wider doorway and stronger floor planning. A ramp is another option. It is often simpler, though steeper angles can make wet-weather transfers uncomfortable.

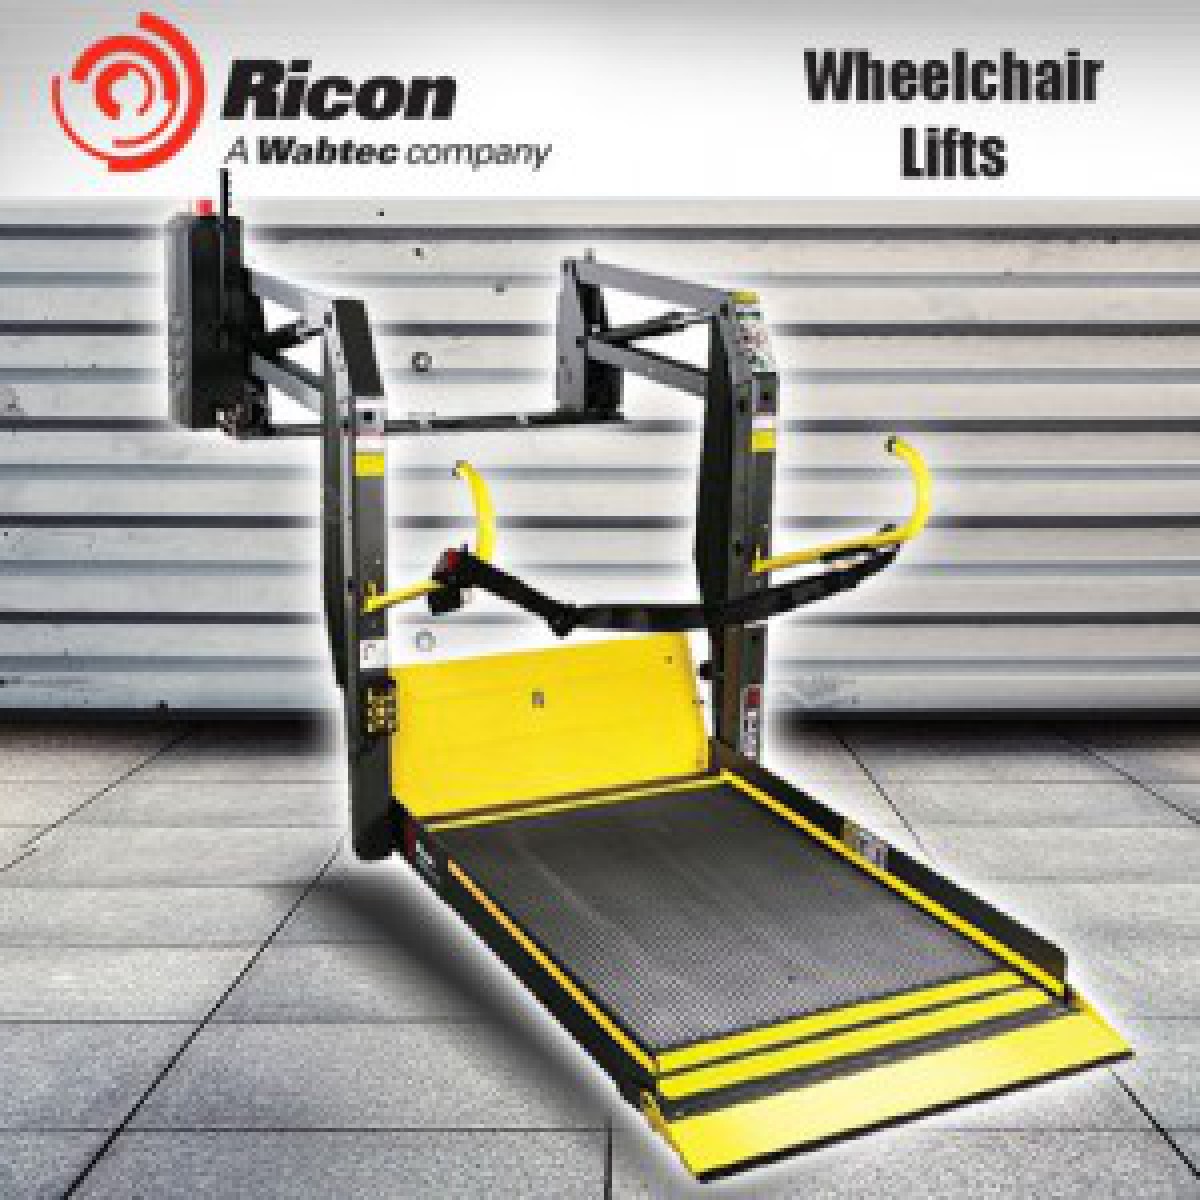
Measure the wheelchair, user, and transfer route together. A compact van may fit a folding chair, but a powered chair needs more turning room and payload capacity. Full-size vans usually provide better headroom, lift space, and future flexibility. Check the lift’s rated capacity, platform width, bridge plate, handrails, non-slip surface, and manual backup system. Safety interlocks should prevent movement when the platform is deployed. U.S. FMVSS 403 and 404 define important platform-lift performance and installation requirements, according to NHTSA. Ask for documented compliance and maintenance records. A glossy brochure can mislead. I would physically test the lift with the actual chair, because advertised measurements rarely capture awkward angles, winter clothing, or a caregiver’s reach.

How to Buy a Van With Wheelchair Lift in 2026?

Compare wheelchair lift types by their typical rated lifting capacity. Actual specifications vary by vehicle, lift model, platform size, and installation configuration.

How to use this comparison: Side-entry and rear-entry platform lifts commonly support around 800 lb, while under-vehicle lifts often support approximately 600 lb. Portable wheelchair hoists are generally designed for lighter loads, commonly around 350 lb. When selecting a van, also confirm interior height, doorway width, ramp or lift clearance, and the combined weight of the wheelchair and passenger.

Safety checklist: Look for a four-point wheelchair tie-down system, a separate occupant restraint, non-slip platform surfaces, handrails where applicable, lift interlocks, audible or visual warnings, emergency manual operation, and a lifting capacity that exceeds the combined user and wheelchair weight.

Set a Budget and Evaluate Financing, Insurance, and Ownership Costs

Buying a van with a wheelchair lift in 2026 starts with a realistic ownership budget, not the advertised price. From my experience reviewing accessible vehicles, lift condition and maintenance history can change monthly costs quickly. Record the purchase price, registration, taxes, delivery, and an independent inspection. Keep an emergency reserve for hydraulic repairs, tire replacement, and unexpected electrical faults. A van parked outside may need more care than expected. That detail is easy to miss.

Compare financing offers by total repayment, not only monthly payment. A longer term can make a worn lift seem affordable while increasing interest and repair risk. Ask whether the lender includes accessibility equipment in the vehicle valuation. Insurance quotes should reflect actual use, passengers, mileage, and mobility equipment. Confirm coverage for the lift, modifications, roadside recovery, and temporary replacement transport. Policies differ widely. Read exclusions carefully.

Tips: Request service invoices and test the lift repeatedly with the intended wheelchair. Measure doorway width, ramp angle, headroom, and parking clearance before signing anything. Obtain two insurance quotes and calculate fuel, servicing, inspections, equipment repairs, and loan payments. A spreadsheet helps, but it cannot predict every failure. I would add ten to fifteen percent for uncertain costs, although this estimate remains imperfect. If financing leaves no monthly reserve, the van is probably too expensive.

Inspect, Test, and Complete the Purchase of Your Accessible Van

How to Buy a Van With Wheelchair Lift in 2026?

Inspect the van in daylight, preferably after rain. Water can reveal leaks around the lift, roof seams, and floor. Check the ramp or platform for rust, loose bolts, damaged wiring, and unusual movement. The lift should operate smoothly without grinding, jerking, or stopping halfway. Ask for maintenance records, conversion details, and the vehicle identification number. Compare every document with the van itself.

Test the complete access process with the actual wheelchair and passenger. Measure doorway width, interior height, ramp angle, and turning space. Confirm that the chair fits comfortably beside the securement points. Try the restraints yourself. They should lock firmly and release without confusion. Test the lift several times, including with the engine running and switched off. Small delays matter. They may become serious later.

Have an independent mechanic inspect the engine, transmission, brakes, suspension, and underbody. A specialist should also examine the lift and wheelchair restraint system. Do not rely only on a seller’s inspection. I once saw a buyer focus on clean seats and overlook uneven platform movement. That was an expensive lesson. Request written repair estimates for every concern. Review the purchase contract, warranty limits, fees, return terms, and financing costs before signing. Keep copies of all records. If the seller avoids a practical demonstration, pause the purchase. You deserve time to think.

How to Buy a Van With Wheelchair Lift in 2026? - Inspect, Test, and Complete the Purchase of Your Accessible Van

Purchase Stage Inspection or Test Item Realistic Acceptance Benchmark Evidence to Request Typical Cost or Time Decision
1. Define the Need Measure the wheelchair and occupant requirements Record wheelchair length, width, height, total weight, user transfer needs, and caregiver space. Allow clearance for securement and door operation. Written measurement sheet and seating plan 30–60 minutes Required
2. Confirm Capacity Check payload and axle-load limits The combined weight of passengers, wheelchair, lift, equipment, and luggage must remain below the vehicle’s payload and axle ratings shown on its certification label or documentation. Vehicle certification label, weight records, conversion documents 30 minutes Required
3. Review the History Verify title, ownership, accident, flood, and odometer history The vehicle identification number, mileage, title status, inspection records, and service history should be consistent. Avoid unresolved salvage, flood, or structural-damage records. Vehicle history report, title, registration, maintenance invoices 1–2 hours Investigate
4. Inspect the Body Examine doors, floor, roof, underbody, and structural mounting points No significant corrosion, water intrusion, cracked welds, distorted floor sections, loose fasteners, or damage around lift attachment points. Independent inspection report and dated photographs 1–2 hours Required
5. Inspect the Lift Check platform, hinges, handrails, barriers, belts, and mechanical condition The platform should be level, stable, free of excessive flex, and large enough for the wheelchair. Safety barriers must lock securely, and nonslip surfaces should be intact. Lift model and serial information, service records, load rating 30–45 minutes Required
6. Test Lift Operation Run the lift through a complete loading cycle Test at least three complete cycles: deploy, lower, raise, fold or stow, and secure. Movement should be smooth without unusual noise, hydraulic leaks, delays, or control failures. Live demonstration with the actual user or a comparable test load 20–30 minutes Pass 3 Cycles
7. Test Accessibility Load the actual wheelchair and user if possible The user can enter, exit, turn, and reach the designated position without unsafe contact with the roof, door frame, lift rails, or interior fixtures. Practical demonstration and user feedback 30–60 minutes Required
8. Test Securement Inspect wheelchair tie-downs and occupant restraint Four-point wheelchair securement should attach correctly, retract smoothly, and hold the chair firmly. The occupant restraint should fit properly and remain independent of the wheelchair frame where required by the system design. Securement instructions, restraint labels, installation records 20–30 minutes Required
9. Check Electrical Systems Test battery, charging system, lift controls, lighting, and warning indicators The engine should start reliably, the charging system should operate normally, and all lift switches, backup controls, warning lights, interior lights, ramps, and door sensors should function. Battery test, diagnostic scan, service records 30–60 minutes Pass
10. Inspect Mechanical Systems Evaluate engine, transmission, brakes, steering, suspension, tires, and air conditioning No active fluid leaks, serious warning lights, abnormal vibration, brake pulsation, steering looseness, uneven tire wear, or overheating during the road test. Independent mechanical inspection and diagnostic report $150–$300 Required
11. Complete the Road Test Drive in city traffic, on a highway, and over uneven surfaces The van should track straight, stop securely, maintain stable handling, and provide acceptable visibility and cabin comfort with the wheelchair loaded. Written road-test notes and passenger feedback 20–40 minutes Pass
12. Verify Compliance Confirm accessibility conversion documentation and local requirements Conversion details, weight information, safety labels, inspection status, and registration requirements should be documented and acceptable in the buyer’s jurisdiction. Conversion certificate, inspection certificate, owner’s manual 1–3 days Required
13. Price the Purchase Compare total ownership cost, not only the sale price Include taxes, registration, insurance, inspection, immediate repairs, lift servicing, tires, battery replacement, and transportation costs before making an offer. Written quote, repair estimate, insurance estimate 1–2 days Compare
14. Negotiate Safely Make the offer conditional on inspection and accessibility testing The written agreement should identify the vehicle, included equipment, known defects, warranty terms, return conditions, and any repairs promised before delivery. Signed purchase agreement and itemized invoice 1–3 days Required
15. Complete Delivery Perform a final handover inspection Confirm mileage, fuel level, keys, manuals, spare equipment, tie-downs, emergency release instructions, title documents, and all agreed repairs before payment or pickup. Final checklist, delivery receipt, payment records 30–60 minutes Complete
16. Plan Ongoing Care Schedule preventive maintenance for the van and lift Follow the vehicle and lift maintenance schedules, inspect belts and restraints regularly, keep the platform clean, and address unusual noises or leaks immediately. Maintenance calendar and service log Monthly checks Maintain
Safety note: Never purchase an accessible van solely from photographs. A qualified mechanic and an accessibility professional should inspect the vehicle, and the intended wheelchair user should participate in the loading, securement, and road tests whenever possible.